A didgeridoo is a eucalyptus trunk naturally hollowed out by termites. However, several stages separate the trunk in its natural state from the finished instrument. And the know-how of the didgeridoo crafter (didg-maker) proves to be essential. Here then are the different stages of production of a eucalyptus didgeridoo.
These photos were taken during my trip to Australia, where I was making my didgeridoo with Bob Druett in Darwin. Are you ready for a journey into the workshop of one of the best didg-makers in the world? Here goes!
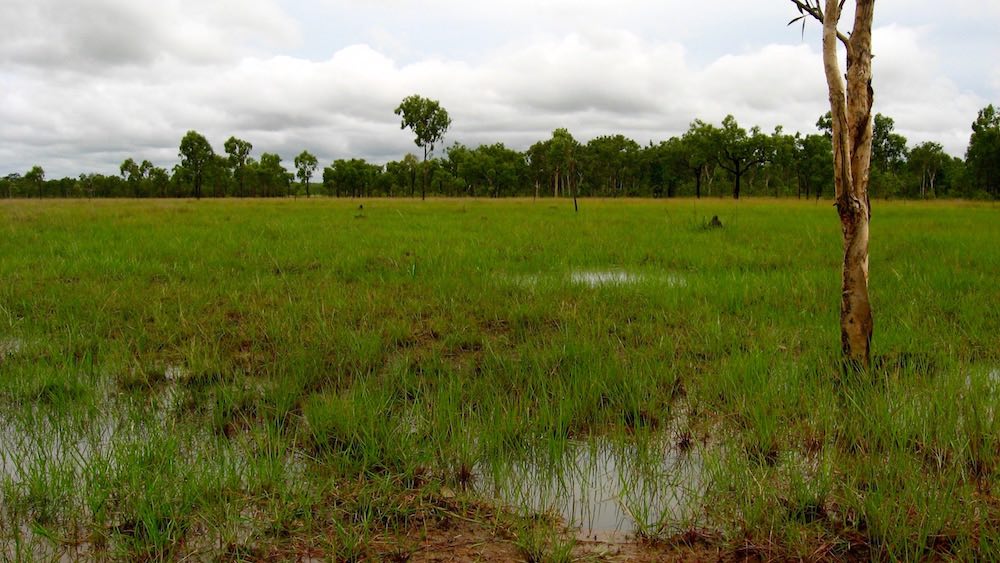
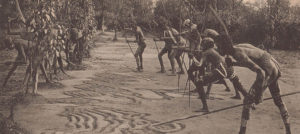
The Australian bush in the rainy season… watch out for crocodiles!
Step 1: Cutting the eucalyptus
First of all, be aware that to find your eucalyptus trunk it will be necessary to face the heat and humidity of the bush (when I was there it was 40° with nearly 90% humidity). To this, add the flies, renowned for staying glued to faces even whilst being shooed away. They even come to ‘nibble’ around your eyes to drink! You now have a little insight into local life. In this wilderness, the motivated (!) didgeridoo maker must find the hollow eucalyptus trunks. Their work is to spot the trees that will be sufficiently, but not overly, hollowed out. The didg-maker then cuts the eucalyptus at the base in order to keep a section of trunk around 2m long.
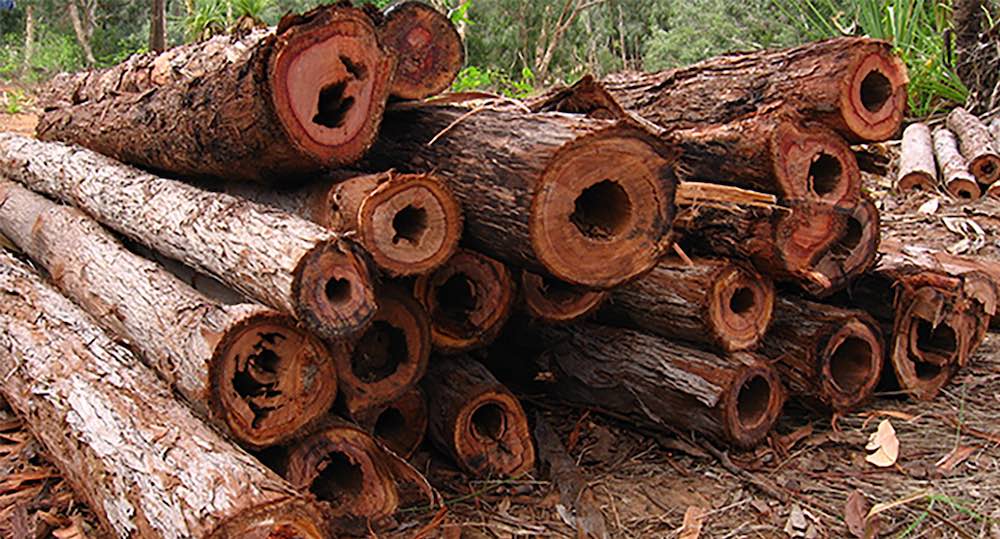
Eucalyptus trunks cut in the bush in December 2007 during my trip in Australia.
Step 2 : Drying the trunk
After emptying out the termites’ tunnels and removing the bark, the trunk is taken back to the workshop where it starts a period of drying that can last anywhere between 6 to 8 months. Once the wood is perfectly dry, the didgeridoo maker faces their greatest challenge: to extract the best possible instrument from the trunk. And that’s no small feat…
By nature, termites don’t hollow out trees uniformly. The interior of the trunk is strewn with hollows and recesses, which can prove to be as much qualities as they can defects for our future instrument. And it’s here that the art of the didg-maker resides. They will need to cut the trunk at the right place to reveal the final didgeridoo still hidden within the mass of wood. And when you consider that the average size of an instrument is between 1.2m and 1.8m and that you can reduce the length of the trunk from either end, you quickly understand the combinations are almost infinite!
Step 3 : The inside of the didgeridoo
The trunk is now the right size; however, we’re not yet talking about a real didgeridoo. The interior now has to be re-dug in order to hone the playability and improve the acoustic properties. As for the bell, it is widened to allow the sound to resonate better. All of this stage is a true work of fine craftsmanship.
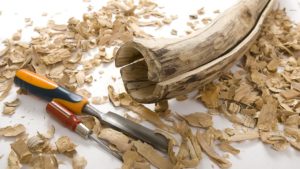
On this subject, I remember an anecdote from Bob’s workshop. I was hollowing out the bell of my future didgeridoo (cf. photo). All was well, until I had the misfortune to remove a few too many millimeters in the thickness of the wood (over just one square centimeter!). This mistake (which I had not imagined would be so serious) had the effect of unbalancing the entire play of the instrument. It took Bob two hours to remove several shavings of wood from the top part of the didgeridoo in order to regain the initial playability. Ouf! My didgeridoo was saved!
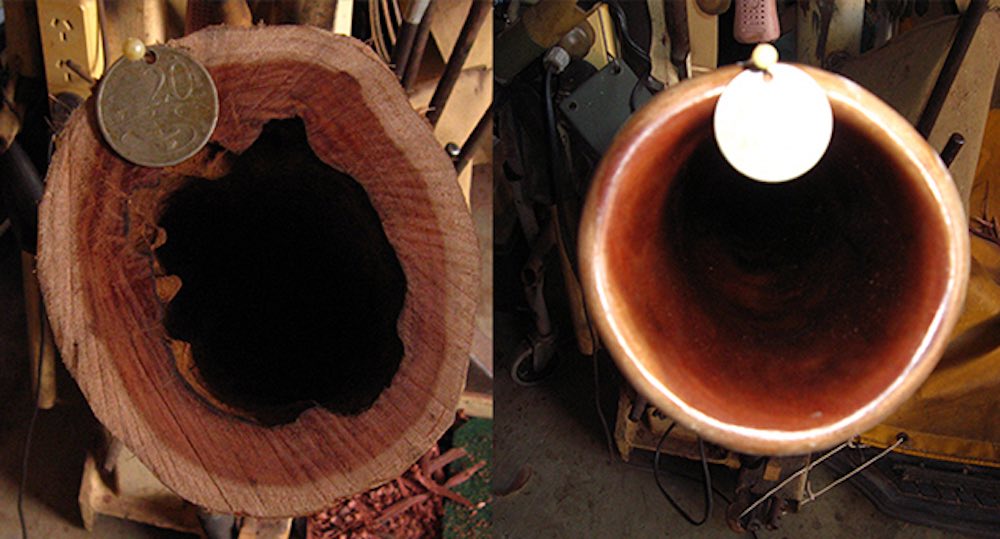
The bell is ‘cleaned’ to improve the sound of the didgeridoo
Step 4: The outside of the didgeridoo
After the inside, the outside. The didgeridoo now goes on a real slimming programme! The didg-maker will remove the surplus wood to give the instrument its final shape. Here again, precision is required, as the thickness of the wall must be regular along the entire length, which risks causing tensions that can make cracks appear. It is also necessary to spot the termites’ tunnels in advance in order to avoid the appearance of holes in the body of the instrument. Remember, termites like to dig crookedly..! These are the same tunnels which appear as bumps on the exterior of the finished didgeridoo.
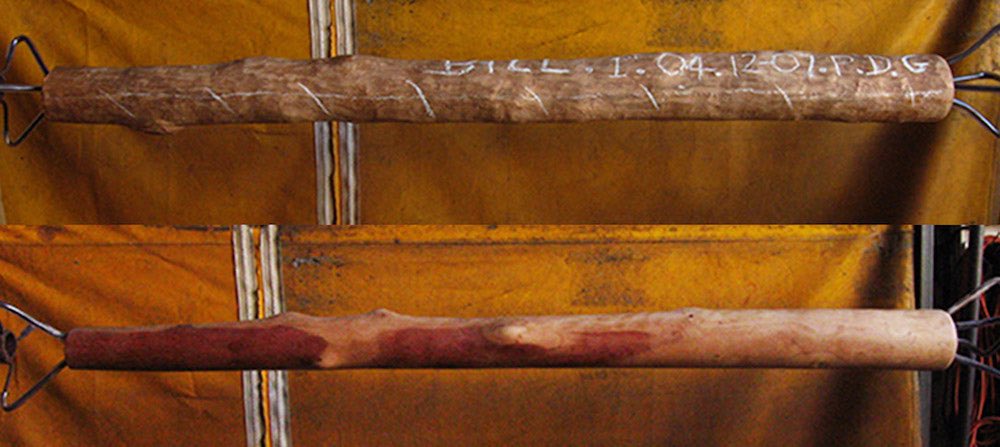
Before and after the exterior work is carried out. We can see the bumps on the didgeridoo, remnants of the termites’ tunnels.
Step 5 : The finish
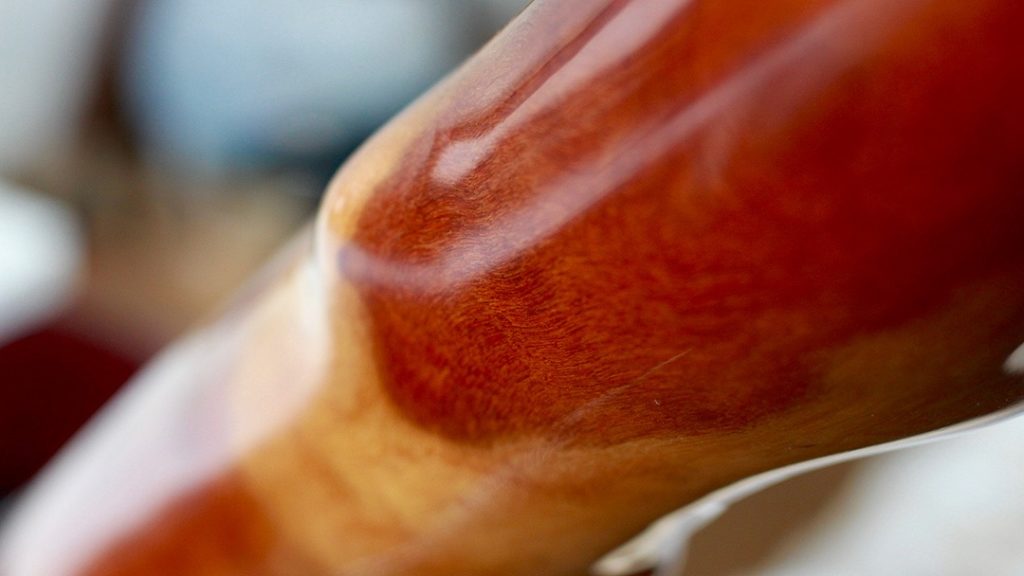
Our didgeridoo is almost finished. The tone is adjusted and then come final touches individual to each didg-maker. In our case, several thin coats of varnish were applied to the interior and exterior in order to protect the wood, to give it its shine and bring out the acoustic qualities of the instrument. All that remains is to add a beeswax or wooden mouthpiece and it’s ready!
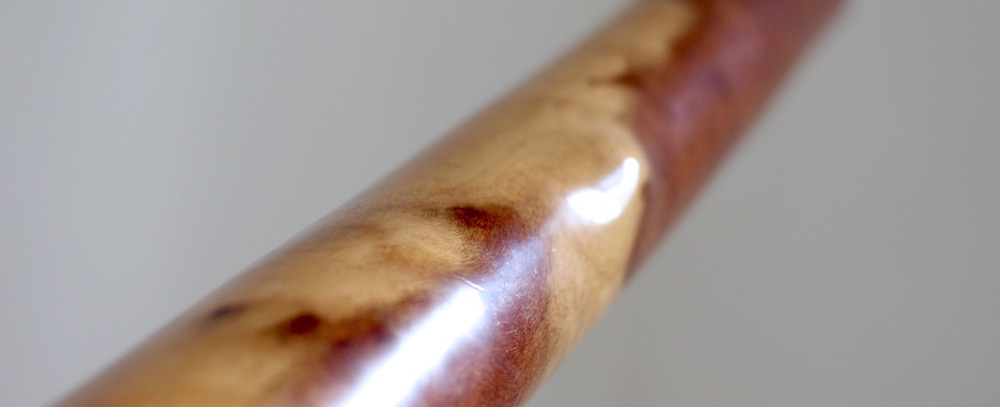
The didgeridoo is covered in several coats of varnish in order to enhance the veins and the colours of the wood.

I played that didgeridoo on the track “L’exil”. You can listen how it’s sounds!
Conclusion: To make a didgeridoo is a real craft!
To be a didg-crafter, you can’t just make it up! One learns over time, constantly refining one’s approach. And rare are the makers who’ve pushed the requirement for detail and perfection as far as Bob Druett (I will write a post with 5 of those didge-crafter).
In the meantime, don’t hesitate to share your questions or your own experiences of making didgeridoos.


Hello, I’m interested in finding a place I can buy a Piece of the wood to make one.
Looked on the net and couldn’t find any.
Thank you
David
Hi David! Yes it’s quite hard to find a piece of eucalyptus for sales… You may ask Gregory from Didgeridoo-passion, maybe he can help you? (I don’t know…)
Contact him from me here.
Hi uhave defatted a seasoned my digi I’m have trouble with cleaning out in side I only have home tools can u help thank u janeen
Hi Janeen,
Unfortunately, I’m not a big expert in didgeridoo making. But you can contact my friend Greg who is running the shop didgeridoo-passion. He is making some eucalyptus didgeridoo, He may be able to help you ! Here his contact page.
Tell him you’re from Gauthier!
How long did it take to make your Austrailian Didg?
Hi Mark,
It’s quite difficult to say because we worked during fews days and stop 2 weeks. Also the vernish needed time to dry.
But I will say, if we worked every, in 2 weeks max it will be done.